Dive! Dive! Dive!


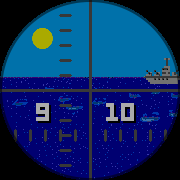
View passing ships with your very own submarine periscope!

Sun/moon and ships move slowly across the screen throughout the day, so the time can been seen through the scope even with the clock turned off.

Sunrise and sunset are at 6am/6pm, with the sun or moon directly above at midday/midnight. Ships sail slowly across the screen from right to left each hour so minutes can be roughly guessed at.

Available for all colour Pebbles but looks best on the Pebble Time Round.

Download now from the Pebble app store

Roku Launcher


(Previously known as NOW TV for Pebble)
Channel launcher and eyes-free remote control for Roku and NOW TV.

31/01/16 – Version 2.0 released. Now fully supports Roku boxes and includes BBC iPlayer and YouTube listings

Download now from the Pebble app store

Features

  • Browse NOW TV Movies and Entertainment listings, BBC iPlayer, and YouTube from your Pebble.
  • Search by voice (supported models only) or by using Tertiary Text on older models.
  • Send programmes directly to your Roku / NOW TV box ready for viewing
  • 3 remote functions per button for eyes free control

Tinyheads


Which Tinyhead will you create?

Choose from a selection of hair, eyes, noses and mouths to create your own pixel art style Tinyhead watchface. Digital time displayed on a flick of the wrist, or for those wanting an easier view of the time analog hands can be shown over the Tinyhead.

15/12/16 – Santa hat update. Because everything looks better in a santa hat.

8/10/16 – Halloween Update. Spooky features to create vampires, werewolves, ghouls, pumpkins, monsters, and more!

Download now from the Pebble app store

Features

  • Customisable Tinyheads
  • Time shown on wrist flick
  • Pebble Time ready
  • 5 colours on Pebble, 343 on Pebble Time
  • Optional analog clock

Note: Tinyheads was formerly known as Pebbleheads

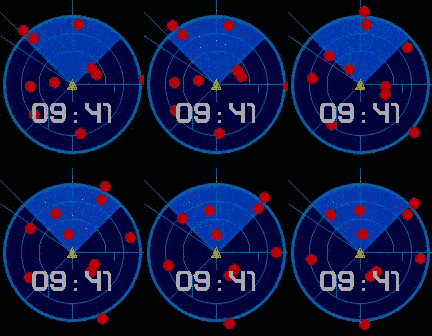
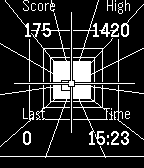
Aliens Motion Tracker Watchface


The Colonial Marines motion tracker from Aliens recreated as a dynamic Pebble watchface.

Now you can finally become the Colonial Marine of your childhood dreams 🙂

Download now from the Pebble app store

Features

  • Motion tracker turns as you turn!
  • Tracker becomes static after a few seconds to save battery
  • Configurable number of blips
  • Optional Alien nest – large cluster of blips which indicates North
  • Optional battery level display
  • Year is always 2179 for obvious reasons

CACK (Crap Adventure Construction Kit)

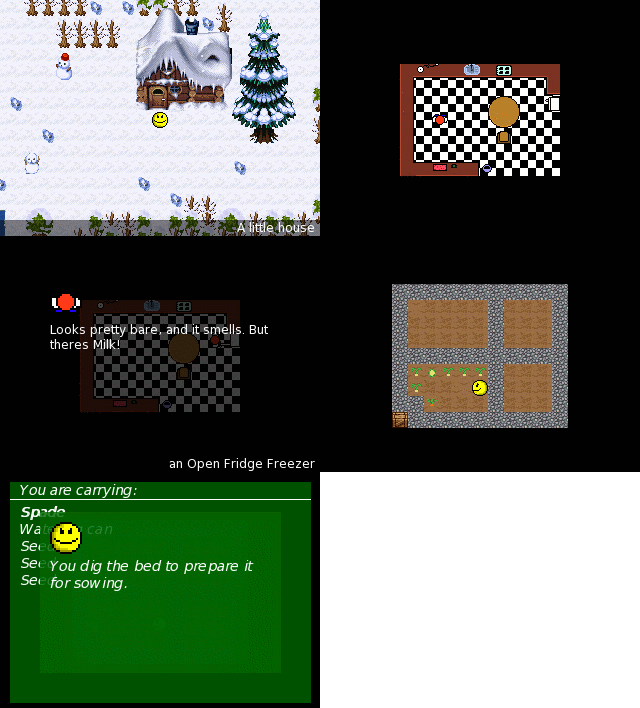
cackanimCACK is (or will be) a constuction kit for crap little adventure games. Think Dizzy style gameplay (pick up object, use object etc) with Zelda style top down view. Beta 2 is just a release of the player (editor hasn’t been started yet), but you can still use it to create games if you don’t mind doing a bit of manual editing of xml and writing map data. Included in the zip are gp2x and windows binaries, and full source for building on linux.

04/09/07 Stickman chapter 1 is available.

03/06/07 Beta 2 released.

01/05/07 Work is progressing on beta 2 of the player. Editor not started yet.

Beta 2 changelog

New -

New demo games - Bobs Garden by me (woogal) and Operation Cuppa by cHEM.
Can set hero direction at start and when teleporting.
Hero graphic can be changed with script.
Action and object IDs no longer have to be consecutive.
Inventory can be named.
Inventory can view more than 9 items and hold up to 100.
Long inventory item names scroll.
Cutscenes with 11 transitions (fades, wipes, and slides).
Time based events (action triggered after x milliseconds).
Random actions.
Object actions can be triggered when walked on.
Specific area actions triggered when walked on.
Title graphic.
An initial action can be called at the start of a new game.
USB controller support.
Game launcher.
Custom quit message.
TV left/right positioning (GP2X).
Volume controls (GP2X).

Fixed -

Several memory leaks.
Crash with only one word in the usetext.
Problems with large numbers of actions or objects.
Description text not always disappearing on smaller map sizes.
Screen flicker on TV (GP2X).
Problems with trying to walk on or use objects off the edge of the map.

19/12/06 Beta 1 released.

Installing

Copy the cack folder somewhere. For the GP2X version, place the contents of the gp2x folder into the cack folder, then run cack-player.gpe from the games menu. For the Windows version, place the contents of the win32 folder into the cack folder and run cack-player.exe.

eg, the final Windows folder structure should look something like this –

fonts <folder>
selector <folder>
demo <folder>
.. (other game folders)
buildselector.exe
cack-player.exe
iconv.dll
jpeg.dll
... (other dlls from win32 folder)

Games are installed into seperate folders alongside the CACK executable. Cack-player will default to loading the game selector. To directly launch a game instead (eg, for a shortcut) launch with cack-player.exe -game gamename (or on the gp2x create a script containing ./cack-player.gpe -game gamename).

Controls

Windows/Linux GP2X
Movement Cursor keys Joystick
Use Return B
Inventory Right Control A
Exit menu Escape Start
TV screen position L and R
Volume Volume +-

USB controllers can also be used. Use, inventory and exit buttons are whatever the controller decides are the first 3 buttons. On the GP2X, external controllers won’t control the tv screen position or volume.

Duke Nukem 3D (Duke2X)

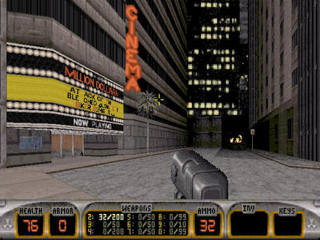
03/07/07 Version 0.04 released.

0.04 changelog

Cutscene movies now work (used to cause black screen crashes before).
Because movies work, this means episode 4 (The Birth) is now playable.
Function of A and B buttons switched to match other software.
Pressing 'back' (was B, now A) on the main menu no longer locks the game out.
Music and sound device settings hard coded as there is only one possible sound device.

duke3d01/07/06 TV out version (0.03 compiled with a later SDL).

06/03/06 Version 0.03 available here. Compatible with readonly filesystems (like theoddbot’s fw1.4), and the save bug seems to have gone. Source is here if you want it.

31/12/05 Version 0.02 available here. Music now works. It should also be compatible with versions 1.3, 1.4, and 1.5. Read the readme carefully for installation instructions.

04/12/05 Version 0.01 available at the gp2x file archive (source is also available there). Sound seems to be ok now (still no music though). Loading and saving appear to work fine, but saved games are not compatible with other ports of Duke3D so you won’t be able to use the same saved games on your PC. Each save takes up around 1mb, so make sure there’s enough space left on your SD card.

31/10/05 Hmm, forgot to update again. Sound is there now (mostly – duke doesn’t speak for some reason). No music because of sdl_mixer needing 14mb of midi instruments installing, and they don’t seem to work even when they are installed.

26/10/05 Ooops, forgot to update this. Fully playable now but a bit difficult to test on a dev board without buttons 🙂 No sound yet as I don’t have a working SDL_Mixer for the gp2x. Not tested loading or saving but I would imagine it works fine.

11/10/05 First basic port of the icculus code working. Doesn’t get past loading the level yet.


Quake

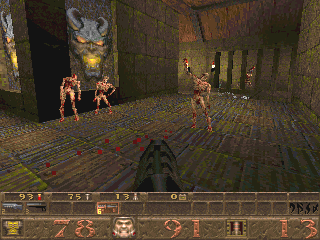
quake_1_screenshot_320x200_e1m3-05/08/06 0.03 released. TV out support. Letterbox mode for widescreen on a 4:3 display. Widescreen fov fix. USB mouse and keyboard support. Please see the readme.txt for more details. Download from the gp2x file archive.

21/02/06 0.02 released. Is now slightly faster due to using the latest SDL release, shouldn’t crash when only using pak0.pak, and shouldn’t crash in water. Also supports various resolutions up to 320×240 for those that want things to run even faster. Download from the gp2x file archive.

13/11/05 2xQuake 0.01 released. Download from the gp2x file archive.

  • 0.03 Source Code – Only needed for development. Please don’t download if you only want to play the game, and get the binary from the link above instead.

Quake 2

14/11/05 Download at the gp2x file archive. Source is there too. If the archive is down, get it from here instead, but please try the archive first.

31/10/05 Got bored and decided to try a quick port of sdlquake2. It works, but a little too slow at the minute to be playable (5.5fps average with full detail and sound, 6.4fps with an autoexec.cfg optimised for speed). Will probably need to be coded directly against hardware instead of using linux as there isn’t really enough memory available.

EdgePad

Background

Main EdgeWrite site (read this to learn how to write characters)
A paper on using EdgeWrite with joystick based systems

After reading the above links I wondered how well an EdgeWrite system would perform on the gp32. The result is that it works suprisingly well. After only a couple of days usage I can now enter text fairly quickly (around 10 words per minute) without looking at the gp32 at all, and hardly make any mistakes.

edgepadEdgePad

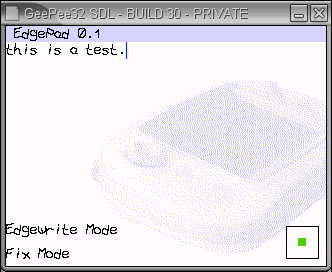
EdgePad is a basic text editor supporting edgewrite and the chatboard. Current version has the following features

  • Loading/Saving
  • Document hyperlinking
  • Scrolling ticker
  • 32k(ish) file size limit

Downloads

Character Chart (taken from www.edgewrite.com)
EdgePad 0.3

BobTron

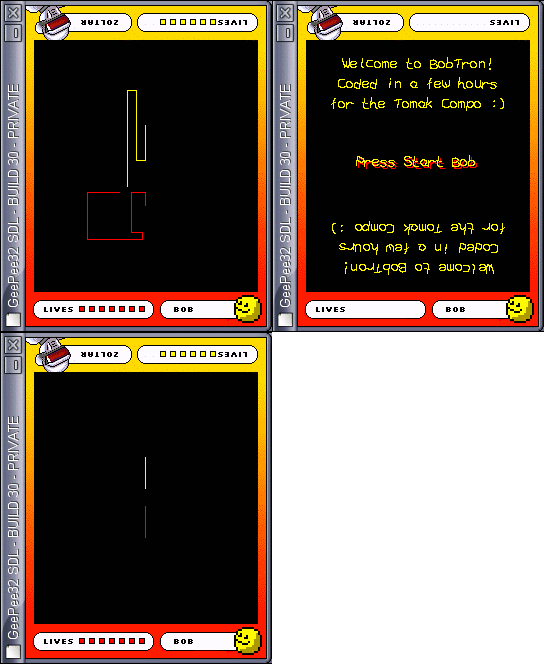
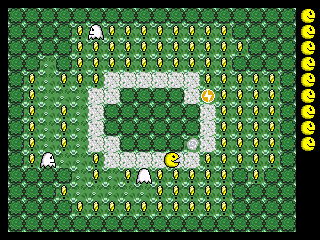
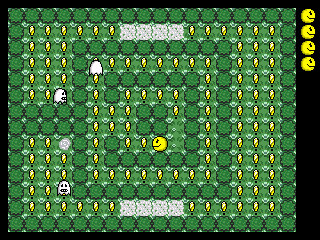
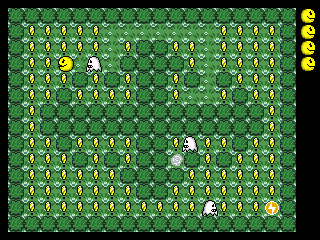
bobtronI wasn’t originally going to enter this compo due to time, but in the end I decided to very quickly finish off BobTron which I had started a few weeks earlier. The whole game was completed in only a few hours (which isn’t surprising as there’s not much too it).

Download

YAFL (Yet Another File Launcher)

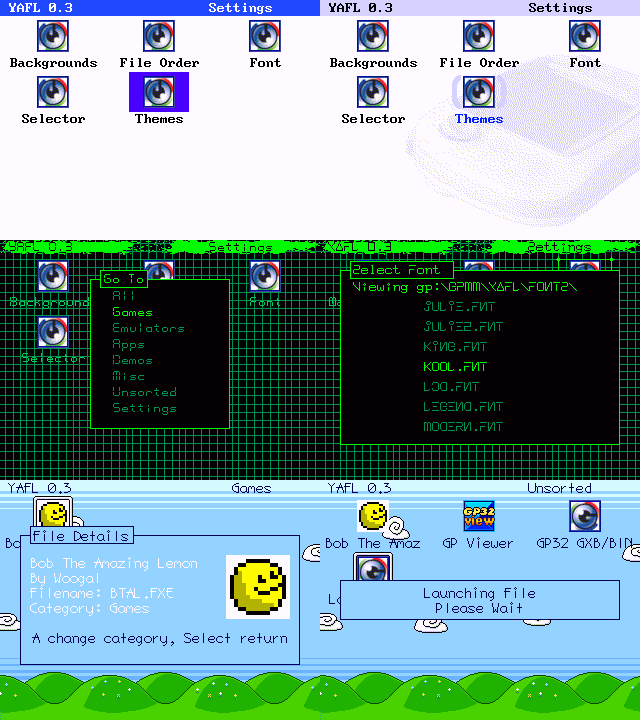
YAFL will launch fxe and gxb files stored in gpmm.

Download
yaflaFeatures

  • User configurable categories
  • User icon support
  • Themes
  • SMC swapping (don’t change cards while loading themes/graphics, launching files, or saving setting, but any other time should be fine)

Installation

Put yafl.fxe in gpmm, themes in gpmm/yafl, and background and selector graphics in gpmm/yafl/bg and gpmm/yafl/iconhl

Place any custom icons in gpmm/yafl/icons (see the readme file there for more details)

Select your theme/graphics from the settings screen. Use B to bring up the change category menu, and select Settings from the list.

To edit categories you should modify the file yafl.cfg in gpetc (if this file isn’t there, run yafl then select save settings). The structure of this file is as follows –

[category1]
#
file1.fxe
file2.fxe
[category2]
#
file3.fxe
file4.fxe
... etc

Modify between [ and ] to change the category name, or add new categories with

[newcategory]
#

(the # is important).

Controls

A – Launch File
B – Move to category
Select – Show file info and change file category
Start – Save settings

When multiple pages are available (look for arrows in the top right), continuing moving down or up will switch pages

On popup screens, select will return to the launcher screen.

A change to the chosen theme or graphics is saved immediatly. Other changes are saved when a file is launched or by pressing Start.

Themes

Backgrounds should be 320×240 8bit (256 color) gif’s, using the standard gp32 palette. Selector graphics are also 8bit gifs in the standard palette, but with a size of 60×40 (Note – If your selector graphics cause YAFL to crash, try increasing the dimensions to 320×240 with the actual graphic in the top left corner).

A theme file should end in .thm and has the following structure (see provided themes for examples ) –

path\to\background
path\to\iconhighlight\image
Background color(all colors 0-255 from standard gp32 palette unless stated)
titlebar color (set to 256 to make transparent)
titlebar text color
icon text color
icon text highlight color
icon highlight color (set to 256 to make transparent)
icon text background (set to 256 to make transparent)
popup box border
popup box fill
popup box text
alternative popup box text (used for alerts and selections)
path\to\font
END

Auto Booting

You can set YAFL as your default file launcher if you have multifw. Simply set pacrom as your default firmware, then in pacrom set yafl.fxe as your quicklaunch item (from options enable quicklaunch, then in the file browser select yafl.fxe with B followed by A). If you want to bypass pacrom’s quicklaunch hold down left and right while booting.
Lazy Reader

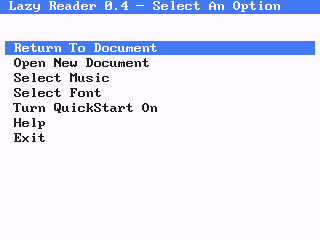
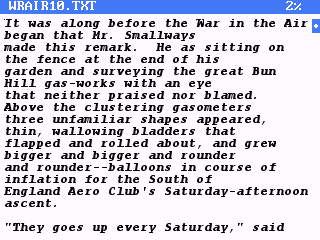
Lazy Reader is a txt viewer for those people (like me) who can’t be bothered pressing a button every time they want to view the next page. Or, to put it another way, it’s a variable speed auto scrolling txt viewer.

lazyreader1 Features

  • Auto scroll
  • Word wrap
  • Quickstart (auto load last document at last position)
  • Accented characters
  • Font selection (fonts can be up to 200 colors)

Installation

Copy the contents of gpmm to your smc, keeping the same file structure (ie, make sure the fonts end up in gp:\gpmm\lazyread\fonts)

lazyreader2The font small.bmp is needed the first time Lazy Reader is executed. If you change font and decide you don’t want to use small.bmp again then you can safely delete it.
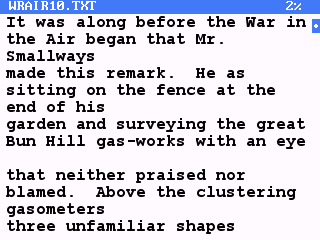
By default Lazy Reader will look for txt files in gpetc, and .mod’s in gpmm\mod, but you can actually put them wherever you want.

IMPORTANT – If you are upgrading from a previous version you must remove the file lazy.cfg from gpetc (if it exists). All kinds of problems might occur if you don’t.

Usagelazyreader3

A – Start/stop scrolling
Up – Slow down scroll speed
Down – Speed up scroll speed
Left – Go back a page
Right – Go forward a page
Select + Left or Right – Jump by 10 pages
Start – Return to Menu

Return to the menu (press start) to save your current position. This will create a file in the same location, and with the same name, but with a .lrp extension.

Creating fonts

A font file is simply a bmp containing all 256 ascii characters, so to create your own font all you need to do is create a bmp. The bmp should be 8bit (256 colors), but you only have the first 200 to play with (which should be more than enough for a font). You should also make sure that the first color in the palette is the background color. Note I’ve just noticed that 2 color bmps won’t display correctly – To get around this add an extra color to your bmp.

lazyreader4All characters are fixed width, so first you should decide on the width and height of a character (eg, small.bmp is 8×12, large.bmp is 10×17). Next, create your bmp setting the width to character_width*32 and the height to character_height*8 (that is important – Lazy Reader uses the bmp width and height to determine the character width and height). Place all characters on the bmp in order of their ascii code, spaced accordingly (google for ascii chart or look at an existing font if you don’t understand what the hell I’m talking about). There are 32 characters to a row, with 8 rows. Yes I know there’s no printable characters in the first 32, but the space is still needed (there’s method in my madness). Finally save (you can use RLE encoding) and test.
Downloads

lazyreader04.zip
34 fonts