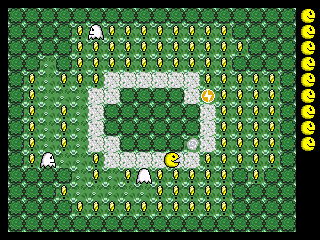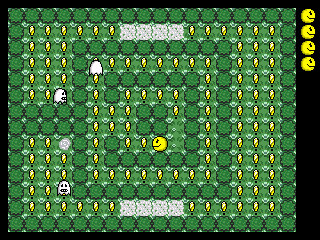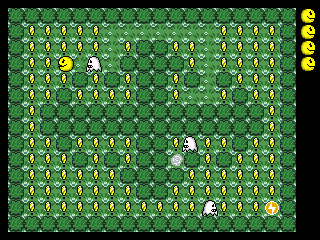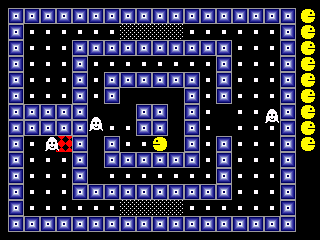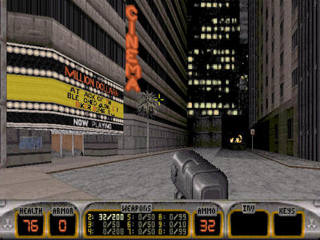
First port of Duke3d for the gp32. Based on the icculus SDL port.
Download
Source code – Only needed for development – don’t download if you only want to play the game.

First port of Duke3d for the gp32. Based on the icculus SDL port.
Download
Source code – Only needed for development – don’t download if you only want to play the game.
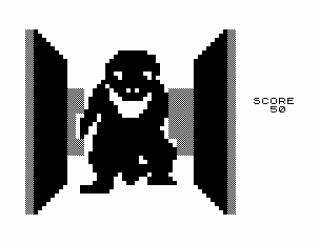 Here is my very basic port of z81 to the gp32. It’s a port of an older version because it had less files and I’m lazy 🙂 Comes with the zx81 rom and a few games. Included games are free, and no-one seems to know who owns the rom anymore so I think it’s safe to include.
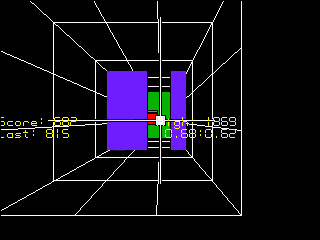 Gbax/emuholic 16 days compo winner!
Game design / code / music (by Donskeeto) all completed within 16 days (my previous 15 day compo entries (BTAL and YAFL) were also coded within 15 days). I know that’s not the strict rules of the compo but I like to see what I can achieve in a limited time.
Review at http://reviews.chemicalkungfu.de
Main EdgeWrite site (read this to learn how to write characters)
A paper on using EdgeWrite with joystick based systems
After reading the above links I wondered how well an EdgeWrite system would perform on the gp32. The result is that it works suprisingly well. After only a couple of days usage I can now enter text fairly quickly (around 10 words per minute) without looking at the gp32 at all, and hardly make any mistakes.
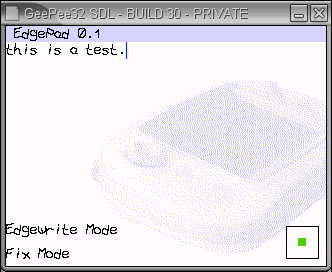 EdgePad
EdgePad is a basic text editor supporting edgewrite and the chatboard. Current version has the following features
Character Chart (taken from www.edgewrite.com)
EdgePad 0.3
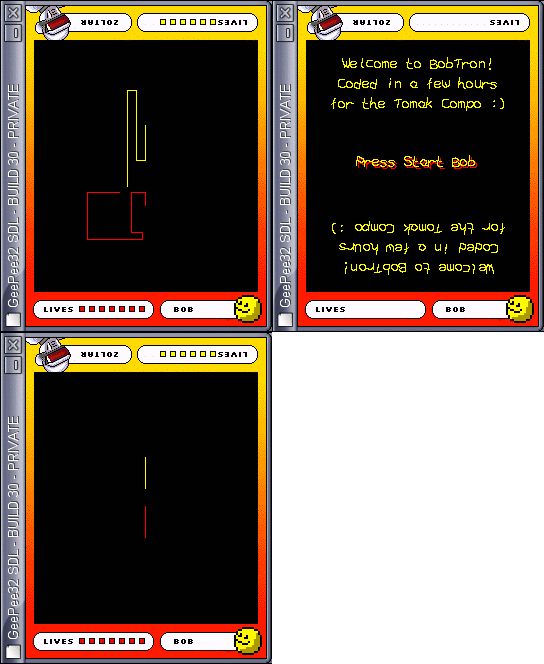 I wasn’t originally going to enter this compo due to time, but in the end I decided to very quickly finish off BobTron which I had started a few weeks earlier. The whole game was completed in only a few hours (which isn’t surprising as there’s not much too it).
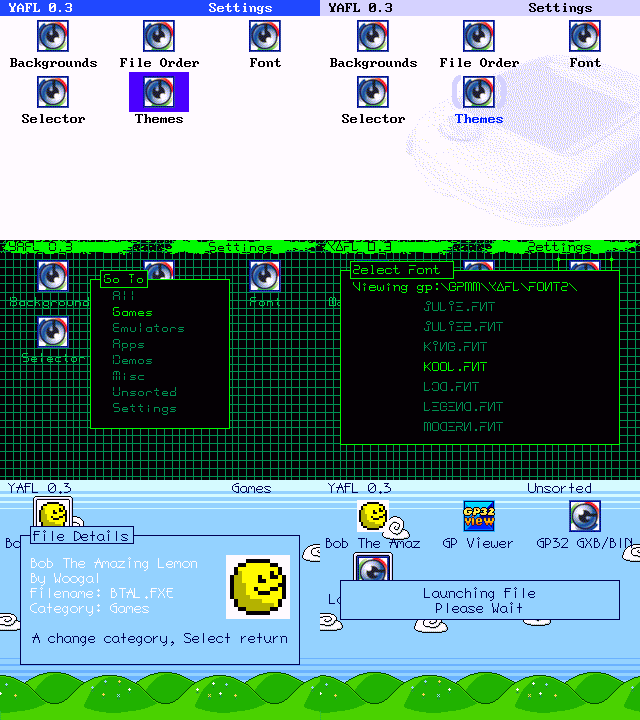
YAFL will launch fxe and gxb files stored in gpmm.
 Features
Put yafl.fxe in gpmm, themes in gpmm/yafl, and background and selector graphics in gpmm/yafl/bg and gpmm/yafl/iconhl
Place any custom icons in gpmm/yafl/icons (see the readme file there for more details)
Select your theme/graphics from the settings screen. Use B to bring up the change category menu, and select Settings from the list.
To edit categories you should modify the file yafl.cfg in gpetc (if this file isn’t there, run yafl then select save settings). The structure of this file is as follows –
[category1]
#
file1.fxe
file2.fxe
[category2]
#
file3.fxe
file4.fxe
... etc
Modify between [ and ] to change the category name, or add new categories with
[newcategory]
#
(the # is important).
A – Launch File
B – Move to category
Select – Show file info and change file category
Start – Save settings
When multiple pages are available (look for arrows in the top right), continuing moving down or up will switch pages
On popup screens, select will return to the launcher screen.
A change to the chosen theme or graphics is saved immediatly. Other changes are saved when a file is launched or by pressing Start.
Backgrounds should be 320×240 8bit (256 color) gif’s, using the standard gp32 palette. Selector graphics are also 8bit gifs in the standard palette, but with a size of 60×40 (Note – If your selector graphics cause YAFL to crash, try increasing the dimensions to 320×240 with the actual graphic in the top left corner).
A theme file should end in .thm and has the following structure (see provided themes for examples ) –
path\to\background
path\to\iconhighlight\image
Background color(all colors 0-255 from standard gp32 palette unless stated)
titlebar color (set to 256 to make transparent)
titlebar text color
icon text color
icon text highlight color
icon highlight color (set to 256 to make transparent)
icon text background (set to 256 to make transparent)
popup box border
popup box fill
popup box text
alternative popup box text (used for alerts and selections)
path\to\font
END
You can set YAFL as your default file launcher if you have multifw. Simply set pacrom as your default firmware, then in pacrom set yafl.fxe as your quicklaunch item (from options enable quicklaunch, then in the file browser select yafl.fxe with B followed by A). If you want to bypass pacrom’s quicklaunch hold down left and right while booting.
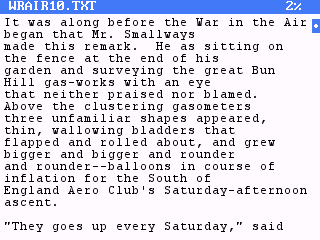
Lazy Reader is a txt viewer for those people (like me) who can’t be bothered pressing a button every time they want to view the next page. Or, to put it another way, it’s a variable speed auto scrolling txt viewer.
 Features
Copy the contents of gpmm to your smc, keeping the same file structure (ie, make sure the fonts end up in gp:\gpmm\lazyread\fonts)
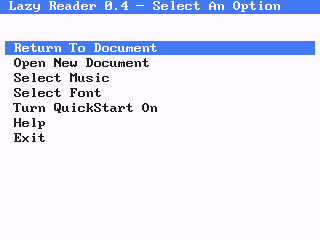 The font small.bmp is needed the first time Lazy Reader is executed. If you change font and decide you don’t want to use small.bmp again then you can safely delete it.
By default Lazy Reader will look for txt files in gpetc, and .mod’s in gpmm\mod, but you can actually put them wherever you want.
IMPORTANT – If you are upgrading from a previous version you must remove the file lazy.cfg from gpetc (if it exists). All kinds of problems might occur if you don’t.
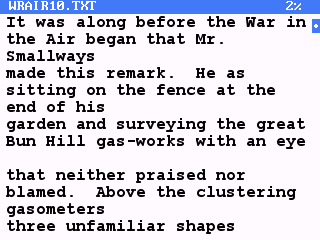
A – Start/stop scrolling
Up – Slow down scroll speed
Down – Speed up scroll speed
Left – Go back a page
Right – Go forward a page
Select + Left or Right – Jump by 10 pages
Start – Return to Menu
Return to the menu (press start) to save your current position. This will create a file in the same location, and with the same name, but with a .lrp extension.
A font file is simply a bmp containing all 256 ascii characters, so to create your own font all you need to do is create a bmp. The bmp should be 8bit (256 colors), but you only have the first 200 to play with (which should be more than enough for a font). You should also make sure that the first color in the palette is the background color. Note I’ve just noticed that 2 color bmps won’t display correctly – To get around this add an extra color to your bmp.
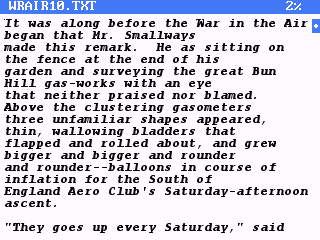 All characters are fixed width, so first you should decide on the width and height of a character (eg, small.bmp is 8×12, large.bmp is 10×17). Next, create your bmp setting the width to character_width*32 and the height to character_height*8 (that is important – Lazy Reader uses the bmp width and height to determine the character width and height). Place all characters on the bmp in order of their ascii code, spaced accordingly (google for ascii chart or look at an existing font if you don’t understand what the hell I’m talking about). There are 32 characters to a row, with 8 rows. Yes I know there’s no printable characters in the first 32, but the space is still needed (there’s method in my madness). Finally save (you can use RLE encoding) and test.
BTAL is a gp32 remake of a game I originally wrote for the Amiga in about ’93.
New version available (0.2). This fixes a couple of bugs, and levels are now in a sensible order instead of random.
